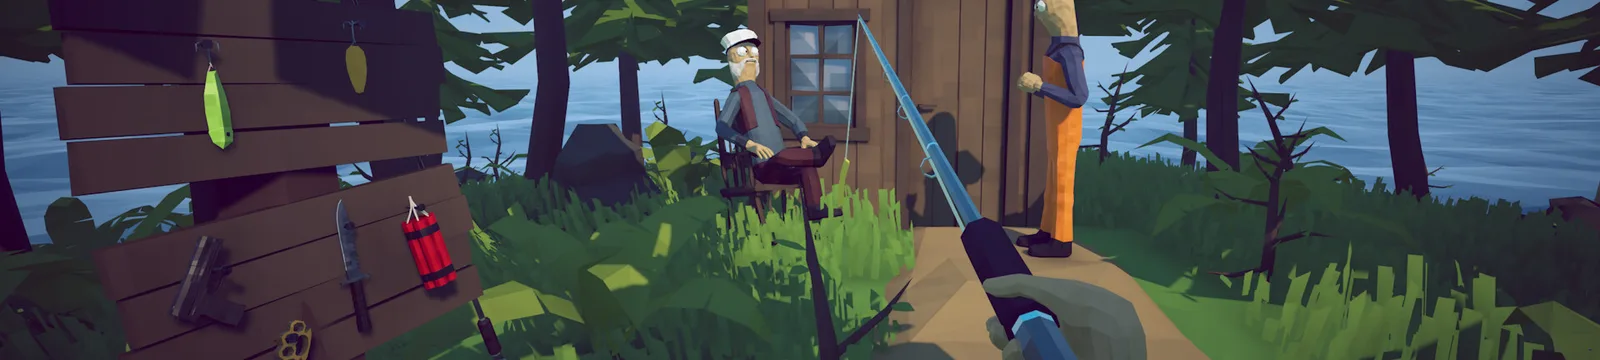

How to Fish: Best Money-Making Tips (Weapons, Cooking & Boats)
Use these How to Fish best money making tips to stack Killscore bonuses, cook catches, use dynamite wisely, and buy upgrades in the right order.
FAQ
What is the fastest way to make money in How to Fish?
Is dynamite worth buying?
Should I upgrade weapons or the boat first?
Does cooking increase a fish's sale value?
Can you use this money route in co-op?
What is the fastest reliable money-making loop?
The best repeatable loop is catch → controlled Killscore finish → cook to 1.5x → sell → reinvest. Each step raises either the catch’s sale value or the speed of the next run. Keep gambling separate from your working cash, because a steady upgrade fund is more useful than a lucky spin followed by an empty wallet.
| Step | What to do | Why it matters |
|---|---|---|
| Catch | Use the lure suited to your current island and favor valuable regular creatures | A better base catch gives every later bonus more value |
| Finish | Weaken the creature, then use a controlled trick shot for the final hit | Killscore modifiers raise the selling value |
| Cook | Hold the catch over the grill until it reaches 1.5x, then remove it | Cooking adds a second, predictable value increase |
| Sell | Turn in the improved catch before starting another risky fight | Banking profit prevents one mistake from wiping out a run |
| Reinvest | Buy the next progression, weapon, lure, or inventory upgrade | Productive upgrades increase future earnings |
How should you make money at the Lighthouse?
At the Lighthouse, learn the basic catch-and-sell cycle and protect your small bankroll. Buy the inexpensive gear that opens progression, including the $10 Radar once the boat is available, then save toward a dependable firearm. Do not sink early cash into comfort upgrades while coordinates, bait, or combat still block better fishing areas.
Use starter catches to build a reserve rather than attempting elaborate trick shots on everything immediately. The Radar matters because later directions use coordinates; it is a progression purchase, not an optional luxury. Once navigation is covered, start saving for the $150 Shotgun, which is a strong early weapon and remains useful when its Bullet Damage is upgraded.
For a broader route through the opening objectives, use the guides index. When a shop choice is unclear, the items index is the safer place to check before spending a limited reserve.
How do Killscore bonuses increase sale value?
Killscore rewards the finishing hit, so weaken a creature normally and save the trick for the last shot. The official Steam description confirms that trick shots pay more, while players consistently report stackable finishes such as headshots, no-scopes, last-shell shots, point-blank kills, airborne hits, quickscopes, and 360-degree spins.
The safest beginner combination is a no-scope, last-shell headshot on an ordinary catch. It is easier to control than an airborne 360 and still teaches the timing. Practice on low-value creatures until you can recognize when a modifier registers; experimenting on an expensive boss can turn one missed shot into lost bait, time, and profit.
When is dynamite worth its $25 cost?
Dynamite is profitable when one $25 throw clears a tight group of small creatures whose combined sale value comfortably exceeds the cost. It is especially useful around compact Forest Island ponds and during encounters that spawn many small targets. Against one scattered fish, a firearm usually preserves more profit and gives better control over Killscore.
Use a simple break-even rule: count the bodies you expect to recover, not the creatures you hope the blast touches. Throw into the center of a dense group, wait for the water to settle, and collect every floating catch. A bad throw can scatter the haul and waste collection time even when the blast reaches several targets.
Community players also farm repeatable small enemies during the Piranha encounter. Treat that as an optional route rather than a guaranteed payout: reported totals vary widely, and difficulty, positioning, patch state, and the number of bodies actually recovered all change the result. No fixed “money per fight” figure was reliable enough to retain.
How do you cook fish without losing value?
Cooking becomes available with the grill on the third island, the Desert, after the Grillmaster-related quest. Hold a sale catch over the heat and watch its value rise to a maximum of 1.5x. Remove it immediately at the cap; overcooking burns the catch and can erase the profit you were trying to add.
Cooking tools and cleanup behavior can change by patch, but that does not rescue a burned fish. The important habit is to watch the cooking progress rather than preparing several valuable catches unattended.
What should you buy before upgrading the boat?
Spend first on anything that unlocks the next island, then on damage and fishing access, and only then on travel speed. The $230 first engine feels attractive, but the basic boat can still reach the route. A better weapon, the correct lure, or more inventory usually increases income sooner than arriving slightly faster.
| Priority | Buy | Reason |
|---|---|---|
| 1 | Required quest gear and the $10 Radar | Removes progression and navigation blocks |
| 2 | Shotgun and Bullet Damage | Makes bosses and controlled finishing shots more consistent |
| 3 | The lure or rod needed for the current island | Unlocks more valuable regular catches |
| 4 | Extra inventory space | Extends profitable runs before a return trip |
| 5 | First boat engine and later motor upgrades | Saves travel time after the earning loop is already strong |
Treat the table as a bottleneck test, not a rigid shopping list. Buy navigation if you cannot find the next island, damage if creatures take too many shots, the correct lure if valuable fish are unavailable, and inventory if good catches are being left behind. The walkthroughs index separates progression purchases from optional ones.
How should solo and co-op money runs differ?
Solo players should favor repeatable catches, simple Killscore finishes, and one-at-a-time cooking because every interruption stops the whole loop. In co-op, assign clear roles: one player fishes and controls targets, one handles finishing shots, and one cooks or transports. The benefit is less downtime, not an automatic multiplayer cash multiplier.
Which mistakes ruin a profitable run?
The biggest losses come from breaking the value chain: selling a valuable catch raw, missing the finishing shot, burning it on the grill, or spending the proceeds on an upgrade that does not improve the next run. Protect a working reserve and change only one risky part of the route at a time.
- Buying boat speed too early: travel is rarely the first income bottleneck.
- Selling unique boss parts: keep trophies and unusual quest items until their hand-in is finished.
- Practicing difficult tricks on expensive targets: learn the timing on common creatures first.
- Using dynamite on loose groups: the blast costs money even when few bodies are recovered.
- Cooking unattended: 1.5x is the cap; extra heat turns a bonus into a loss.
- Gambling the upgrade fund: roulette is an optional money sink, not a dependable farming method.
- Ignoring island lures: a stylish finish cannot compensate for a weak base catch forever.
What route works from early game to late game?
Early game is about building a protected reserve and reaching the Forest; mid-game adds dynamite, stronger weapons, and the Desert grill; late game shifts toward higher-value island catches, larger inventory, and faster travel. Keep the same value chain throughout, upgrade the weakest stage as new islands raise the stakes, and check the tips index for updated routes.
| Stage | Main route | Reinvest in |
|---|---|---|
| Early | Lighthouse catches, safe finishes, regular selling | Radar, basic weapon, then the Shotgun |
| Mid | Forest groups, controlled Killscore stacks, Desert cooking | Bullet Damage, island lures, inventory |
| Late | High-value catches on later islands, cooked before every sale | Specialized lures, capacity, then faster motors |
Where were these tips verified?
The core loop and multiplayer description come from the official Steam store. Prices, cooking limits, and purchase order were retained only when multiple current guides agreed. Killscore and boss-farming details are labeled as community findings because the game does not publish every multiplier or a fixed farm payout.
- Official How to Fish Steam store — core loop, 1–4 players, progression, trick-shot rewards, and gambling.
- Steam discussion: early Killscore combinations — player-tested finishing-shot combinations.
- Steam discussion: Piranha adds and dynamite — community farming observations.
- Power Up Gaming money guide — prices, cooking cap, dynamite, and route cross-check.
- All Things How upgrade guide — equipment prices and upgrade-order cross-check.
- Pro Game Guides money guide — Killscore, cooking, inventory, and lure cross-check.
- Gaming Plus TV tips video — visual economy and hidden-system cross-check; no exact number was taken from unavailable captions.
- Reddit Steam launch discussion — player reports of stacked trick-shot finishes, kept qualified rather than treated as official multiplier data.
This article was checked against game version 1.0.10 on September 1, 2026. Exact prices and farming behavior can change in later patches, so re-check the version badge before planning a long grind.
Related Articles
guides
How to Beat the Albatross Boss — How to Fish Guide
This How to Fish Albatross boss guide explains the Tuna trigger, ranged rain attack, cover timing, safe damage windows, and weapon choices.
guides
How to Beat the Blue Shark Boss — How to Fish Guide
This How to Fish Blue Shark boss guide explains the Desert lure, spinning charge, safe movement, weapon choice, and grill quest hand-in.
guides
How to Beat the Bowhead Whale Boss — How to Fish Guide
This How to Fish Bowhead Whale boss guide covers the final quest, body slam, falling hazards, upgraded Assault Rifle, healing, and Handyman.
Was this helpful?
Thanks for the feedback!